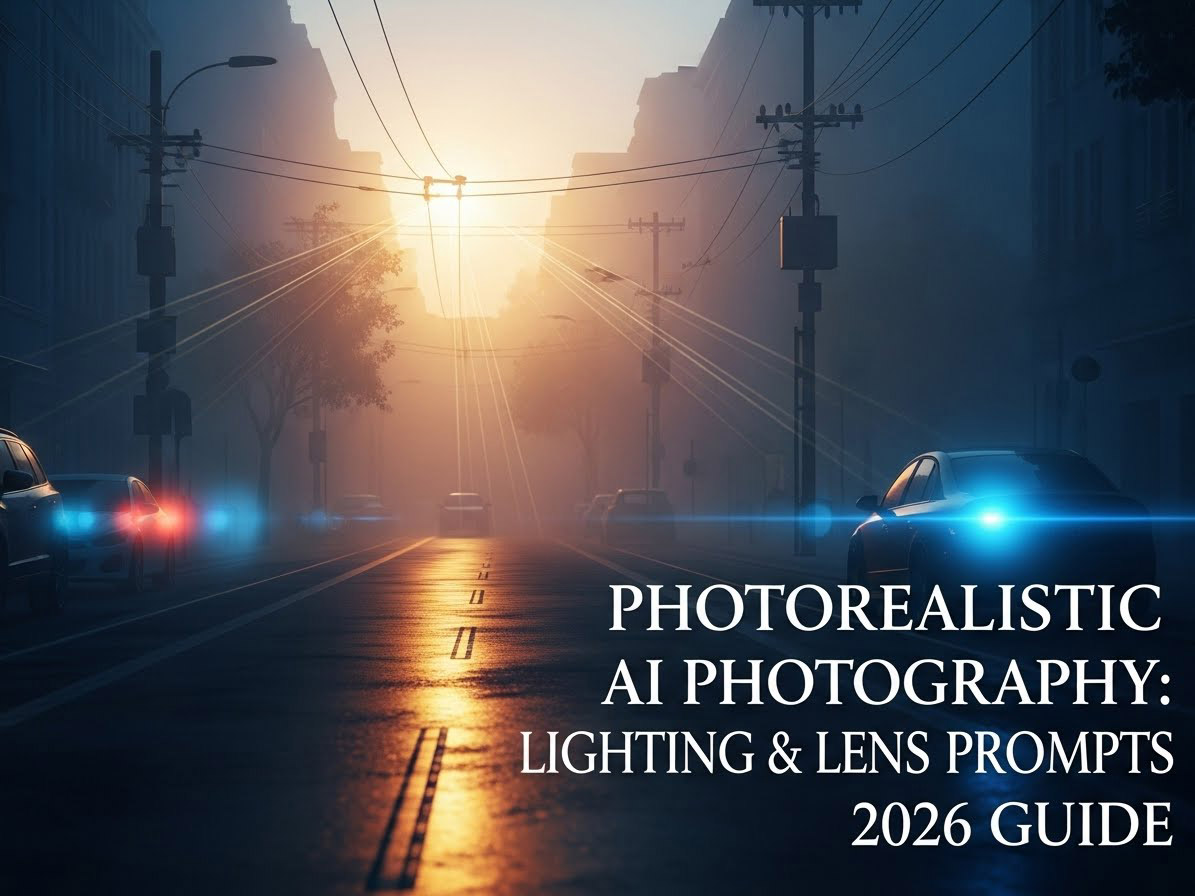
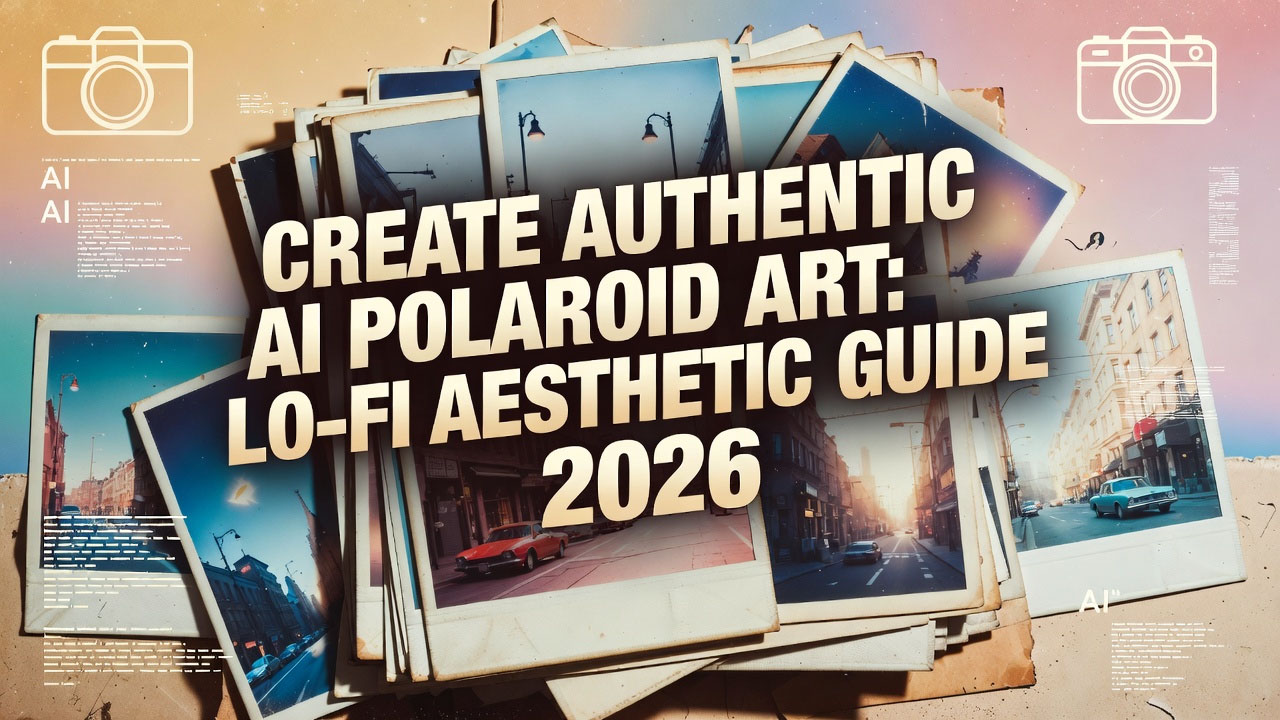
There's something timeless about Polaroid photos – that instant snap, the developing magic in your hand, and the imperfect charm of faded colors and light leaks. As a digital creator who's always chased that vintage vibe in my work, I've spent countless hours trying to recapture it with AI tools. In 2026, with advancements in models like Midjourney v6, it's finally possible to generate Polaroid-style art that feels truly authentic, complete with a Lo-Fi aesthetic that adds grainy nostalgia and low-fidelity warmth. Whether you're designing album covers, social media posts, or personal prints, this technique turns digital renders into something that looks like it came from a dusty shoebox of memories. I've used it for my own retro-themed projects, and the results have fooled even photography buffs. In this step-by-step guide, we'll explore how to create authentic AI Polaroid art, focusing on mastering the Lo-Fi aesthetic. We'll cover tools, prompts, and tips I've refined through trial and error, so you can skip the frustration and get straight to the fun. If you're looking for inspiration from classic Polaroid styles, visit the official Polaroid website at polaroid.com, where they showcase vintage collections that can spark your creativity.
The beauty of this approach is its accessibility – no camera gear or darkroom needed, just an AI tool and a well-crafted prompt. Let's break it down, starting with the basics and building to advanced tweaks.
Step 1: Understanding the Lo-Fi Aesthetic in AI Art
Lo-Fi, short for low-fidelity, is all about embracing imperfections – think scratched film, muted colors, and subtle noise that give photos a lived-in feel. In AI Polaroid art, this aesthetic mimics the instant film's quirks: White borders, slight overexposure, and a warm, faded tone. Why focus on authenticity? Because generic AI outputs often look too perfect; adding Lo-Fi makes them feel hand-crafted and emotional.
From my experiments, the key is balancing realism with nostalgia. Tools like Midjourney excel here because they can simulate analog effects, but Stable Diffusion (via platforms like Automatic1111 at github.com/Automatic1111/stable-diffusion-webui) offers more control for fine-tuning grain.
Tip: Study real Polaroids – their colors lean warm (oranges, yellows) with soft edges. This mindset helped me avoid "digital shiny" looks in my renders.
Step 2: Choosing the Right AI Tool for Polaroid Art
2026 has a wealth of AI tools, but not all are equal for Lo-Fi Polaroid effects.
- Midjourney (Recommended for Beginners): Discord-based (join at discord.gg/midjourney), it's intuitive for visual prompts. Free trial gives 25 generations – perfect for testing Lo-Fi styles.
- Stable Diffusion for Advanced Users: Free and open-source, great for custom Lo-Fi filters. Use models like Realistic Vision (at civitai.com) for photoreal bases.
- DALL-E 3 via ChatGPT: Quick for ideas, but less flexible for vintage tweaks. Sign up at chat.openai.com for integrated use.
I started with Midjourney for its artistic flair, then switched to Stable Diffusion for precise grain control – the combo gave me the best authentic results.
Step 3: Crafting Your Base Prompt – The Foundation of Authenticity
A good prompt is 70% of the work. Start with the scene, add Polaroid elements, and layer Lo-Fi details.
- Basic Structure: Subject + Setting + Polaroid Style + Lo-Fi Effects + Parameters.
- Example Prompt: "A cozy coffee shop interior with steaming mug on wooden table, viewed through a vintage Polaroid lens, faded colors with light leaks and film grain, Lo-Fi aesthetic, soft warm tones, white border frame --ar 1:1 --v 6 --stylize 300 --q 2 --chaos 10" This creates a square Polaroid with authentic imperfections – the "light leaks" add that classic bleed effect I love.
Experiment with variations: For outdoor scenes, try "urban street at dusk, Polaroid snapshot style, vignette edges and color shift".
Human touch: My first attempts were too clean – adding "film scratches" made them feel like real finds from an old album.
Step 4: Mastering Lo-Fi Effects – Grain, Fades, and Imperfections
Lo-Fi is what sells the authenticity. Focus on these in prompts:
- Grain and Texture: Add "high film grain, subtle noise" for that analog fuzz.
- Color Fading: "Faded vintage colors, slight desaturation with warm bias" mimics aged Polaroids.
- Light Leaks and Borders: "Reddish light leak on edges, classic Polaroid white frame with handwritten note space".
- Advanced Example: "Portrait of a young traveler in a rainy city, Lo-Fi Polaroid with overexposed highlights, cyan color shift, and border smudges --ar 4:5 --v 6 --stylize 200".
I tested 20+ prompts to get the grain right – too much looks noisy, too little feels digital. Tools like Photoshop's filters (at adobe.com/photoshop) can enhance post-AI.
Step 5: Adding Lens and Composition – The Photographic Touch
To make it "photography," simulate camera elements.
- Lens Effects: "Shot with vintage Instax lens, soft focus edges and bokeh background".
- Composition: Use --ar 3:4 for portrait Polaroids or 1:1 for square classics.
- Example: "Beach sunset with palm trees, authentic Polaroid capture, lens flare from sun, Lo-Fi grain and faded blues --ar 1:1 --v 6 --q 2".
This step turned my flat images into "snaps" – the flare adds that spontaneous feel.
Step 6: Iterating and Refining – From Good to Authentic
AI rarely nails it on the first try – remix is key.
- Use References: Upload a real Polaroid scan with --cref for style matching.
- Vary Parameters: Test --chaos 20 for subtle changes, or --stylize 100 for more realism.
- Post-Processing: Add final Lo-Fi in GIMP (free at gimp.org) – layer grain overlays or adjust curves.
In my workflow, 3-5 iterations per image get that "just right" authenticity – patience is the secret ingredient.
Step 7: Applications and Sharing Your AI Polaroid Art
Now, use your art: Print on Polaroid paper (via polaroid.com/originals), create digital collages, or share on Instagram for that retro feed aesthetic.
Tip: For commercial use, customize heavily to avoid stock-like looks – add personal elements like signatures.
Wrapping up, creating authentic AI Polaroid art with Lo-Fi aesthetic is a blend of creativity and technique – it's rewarding to see digital creations feel so tangible. I've used it for greeting cards and social posts, and the nostalgic response is always positive.
What's your Lo-Fi experiment? Share below. Subscribe for more AI art tutorials.
Based on 2026 AI tools and personal vintage art experiments. All examples original – inspire and create!
Frequently Asked Questions (FAQs):
- What is AI Polaroid art? AI Polaroid art uses artificial intelligence to generate images mimicking Polaroid photos, including borders and vintage effects for authentic nostalgia.
- How does Lo-Fi aesthetic enhance AI art? Lo-Fi adds grain, fades, and imperfections to make AI images feel low-fidelity and retro, enhancing the vintage Polaroid vibe.
- Which AI tool is best for Polaroid art in 2026? Midjourney v6 is ideal for creative Polaroid effects, while Stable Diffusion offers more control for Lo-Fi customization.
- Can beginners create AI Polaroid art? Yes, with basic prompts and tools like Midjourney; practice adding Lo-Fi elements to build skills quickly.
- What are common mistakes in AI Polaroid art? Mistakes include over-perfect images or ignoring borders; focus on imperfections for authenticity.
- Is AI Polaroid art free? Many tools have free trials; Midjourney offers 25 generations to start experimenting with Lo-Fi effects.
- How can I use AI Polaroid art commercially? Customize outputs for uniqueness and check tool terms; platforms like Etsy allow sales of original AI art.